After watching DIY Perks on youtube i got inspired to use his plaster filled speaker technic.
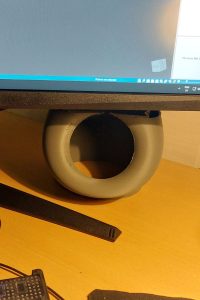
Initially i was looking in to a desk standing speaker that could stand behind the screen and have the speaker look in under the screen, but that idea had both multiple parts due to its height as well as being unnecessary close to the desk, yet another plane that will interfere with the sound.

I’m also lazy by nature, so if i can keep the 3d printed finnish i should. That means no joints or other interferences that might need patchwork.
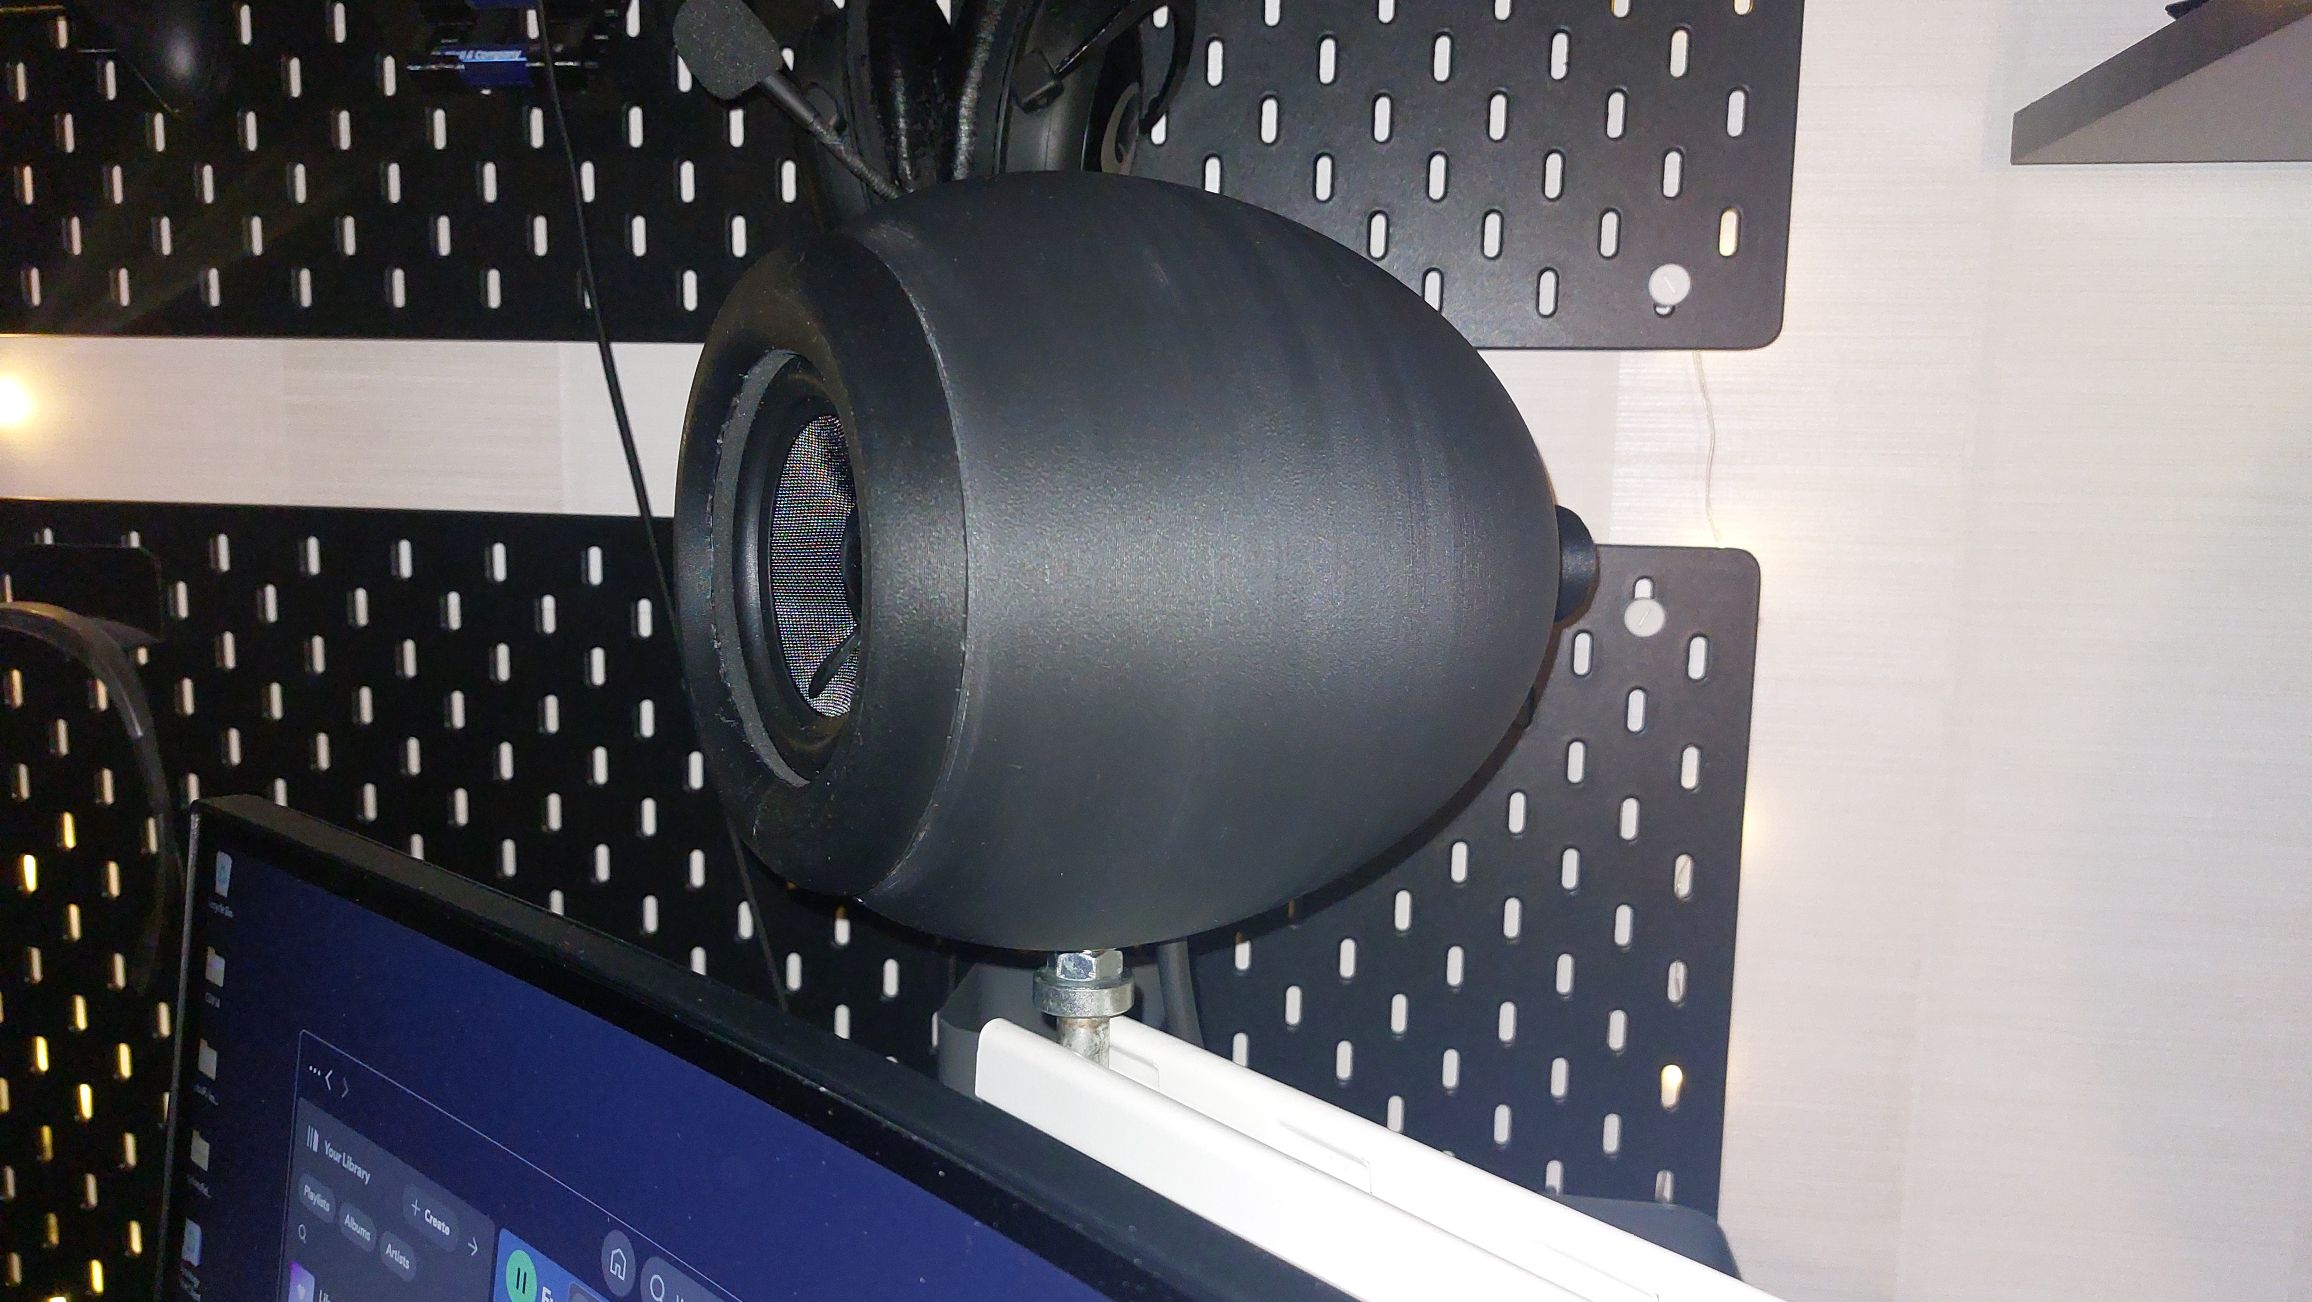
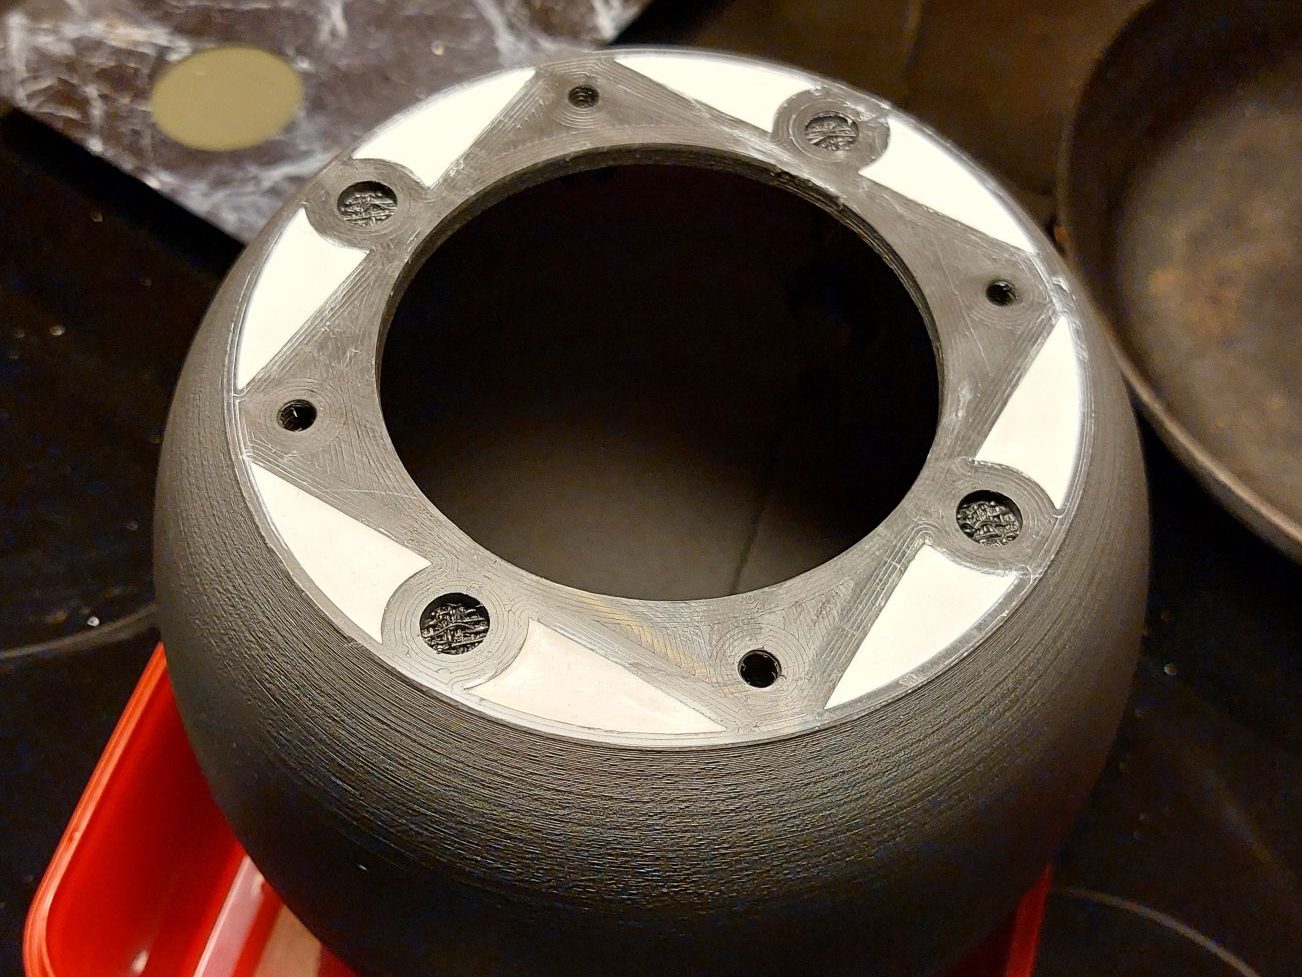
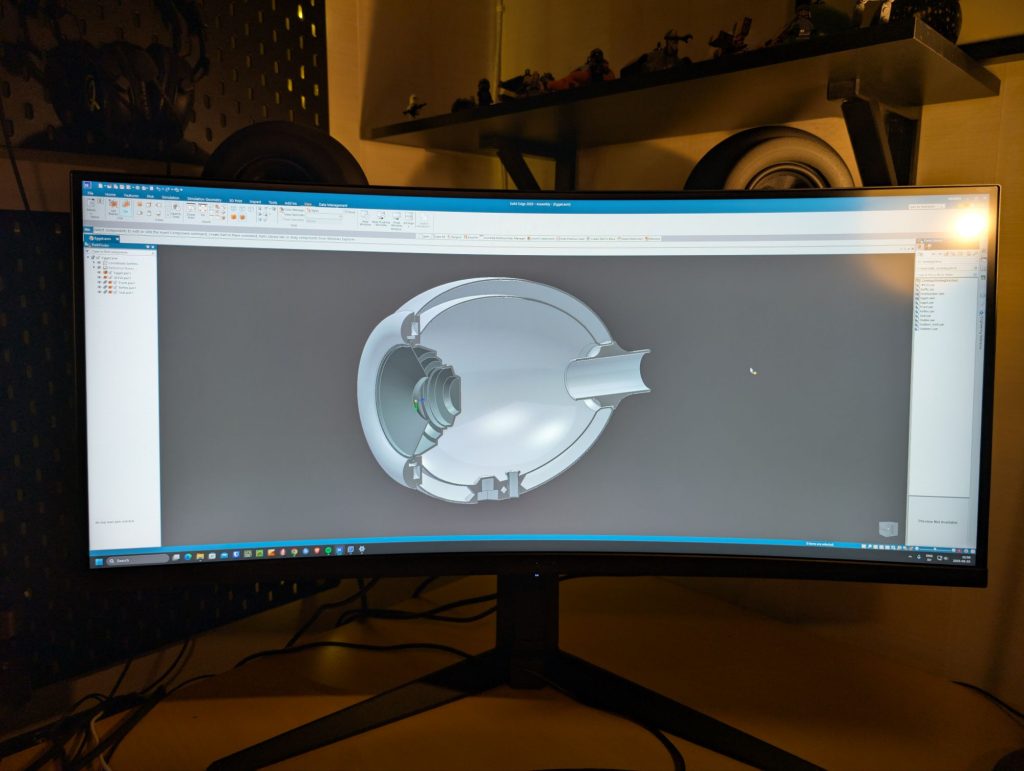
So I instead decided to go with a speaker that fits in the printer of 195x195x195mm and came up with an egg shape where the speaker will be on the bottom end.
Since it’s the first version i decided to keep some parts modular, like the front and the bass reflex tube. This means i can change from sealed to vented box design and i can change tuning and the baffle according to measurement results.
Fixed parameters are the internal volume of 2,1 L as well as the intended driver, a Faital 4FE32. I have some previous experience with the 3FE25, so took the opportunity to build around its bigger sister.
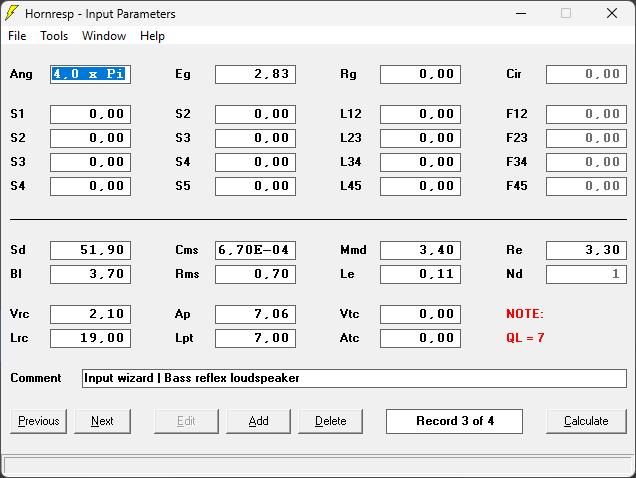
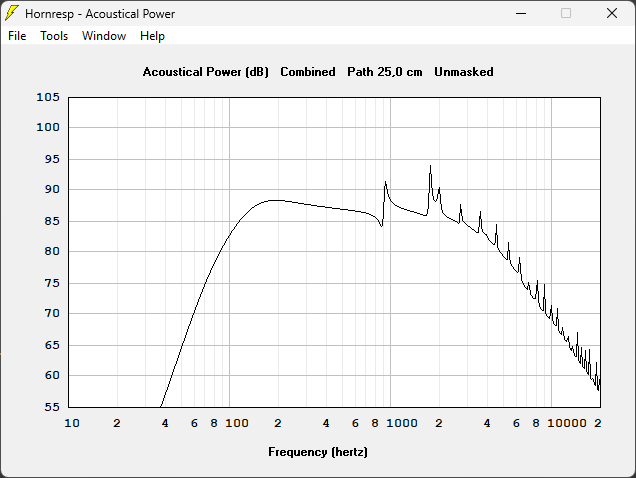
Hornresp simulations give me a standard tuning of 104hz with this corresponding acoustic power curve.
The print process was straightforward and used approx 365g of pla for the main egg with a print time of 16,5h. The wall thickness of the print is 1,5mm on both outer and inner surface. the printer has a 0.8mm nozzle and i do 8 walls and 2mm top and bottom layers.
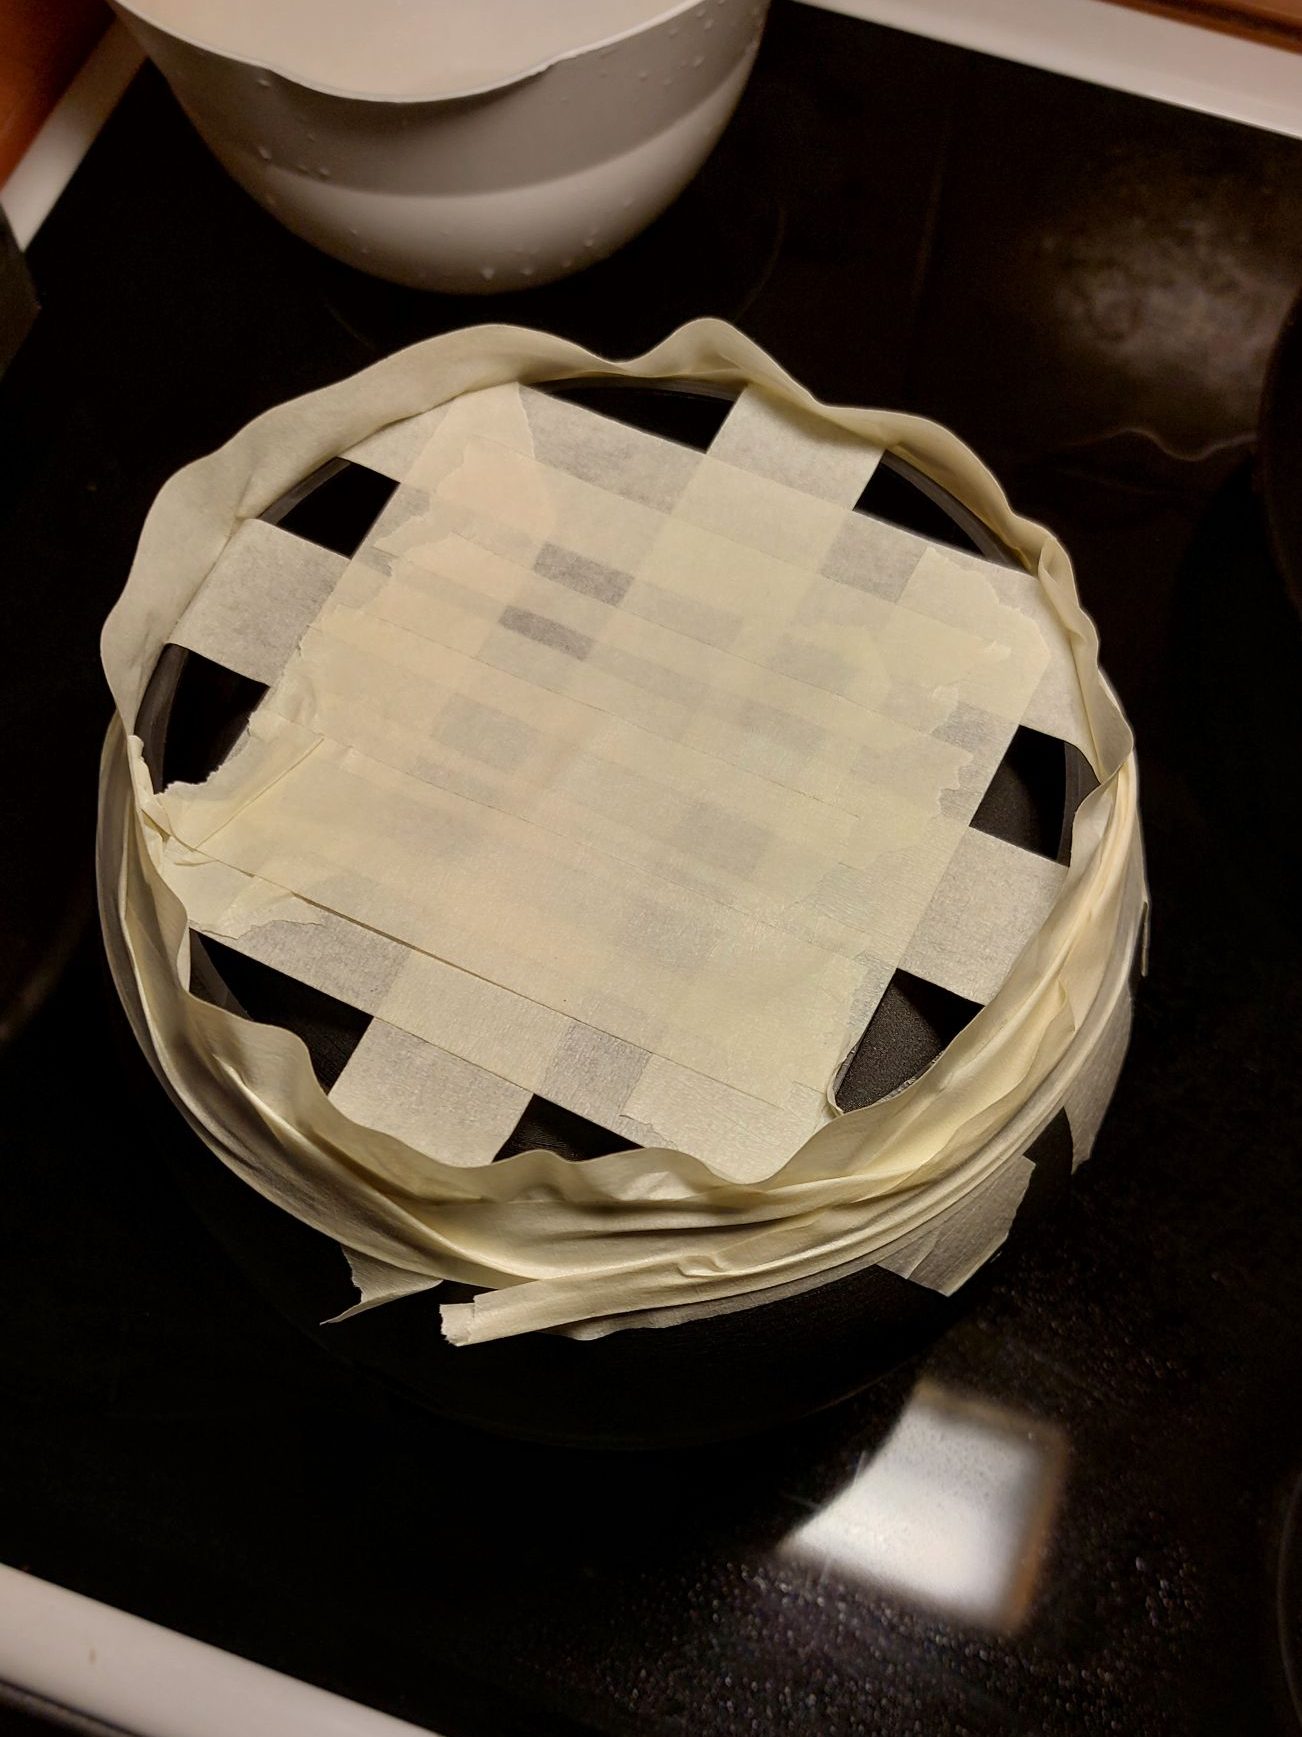
With the print done it’s time for the plaster to be added. The ratio i ended up using after some testing was:
- 1100g Plaster
- 610g Water
- 110g PVA Glue
Mix the finger warm water with the glue and add the plaster while stirring. The plaster should have the consistency of similar to waffle mix.
This is just enough to fill one speaker if you don’t make a mess… after about 45min the plaster should be hardening and burning a bit warm. When it’s start so cool off again it’s possible to handle it and continue with the mounting.
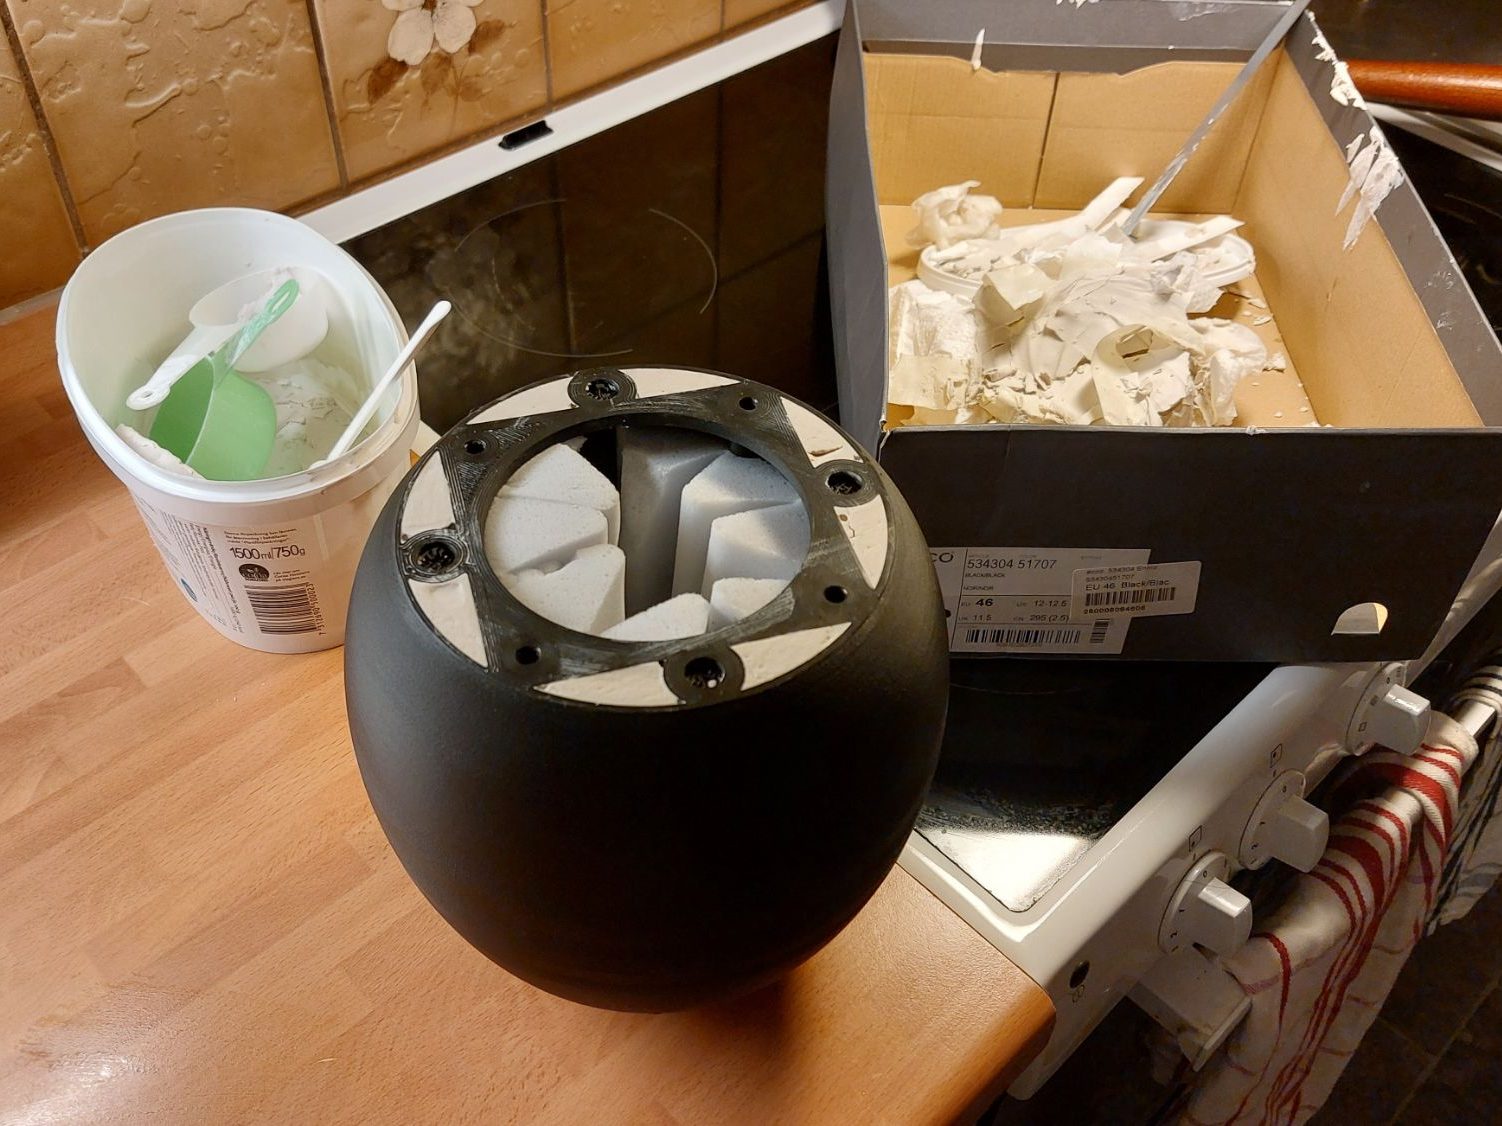
The damping material is not optimal at the moment with some wall pannels folded in inside. I use an isolation strip between the speaker and the cabinet to make sure the seal is air tight.
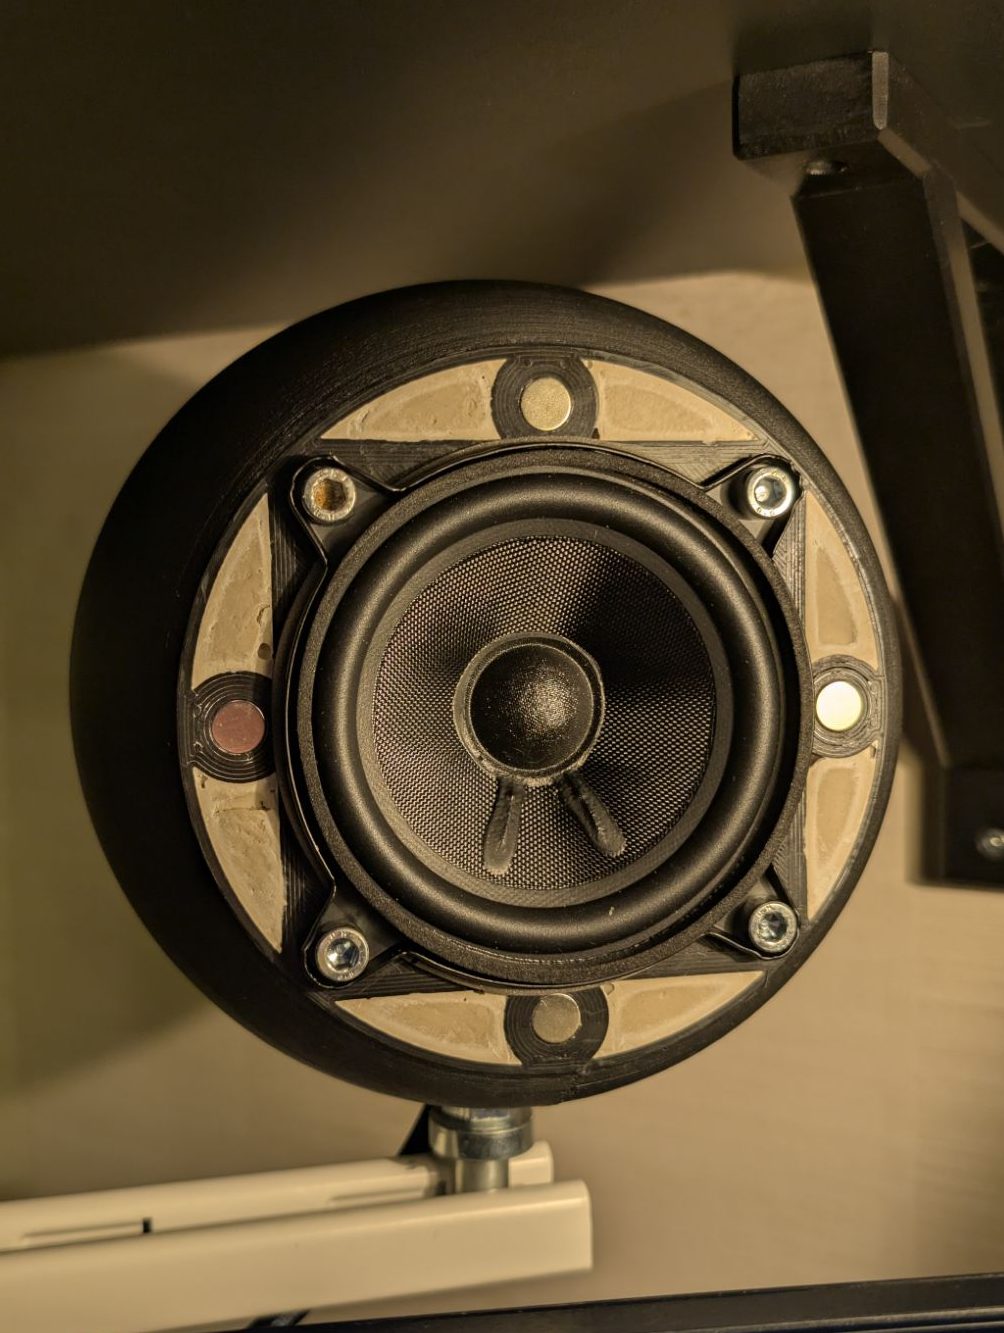
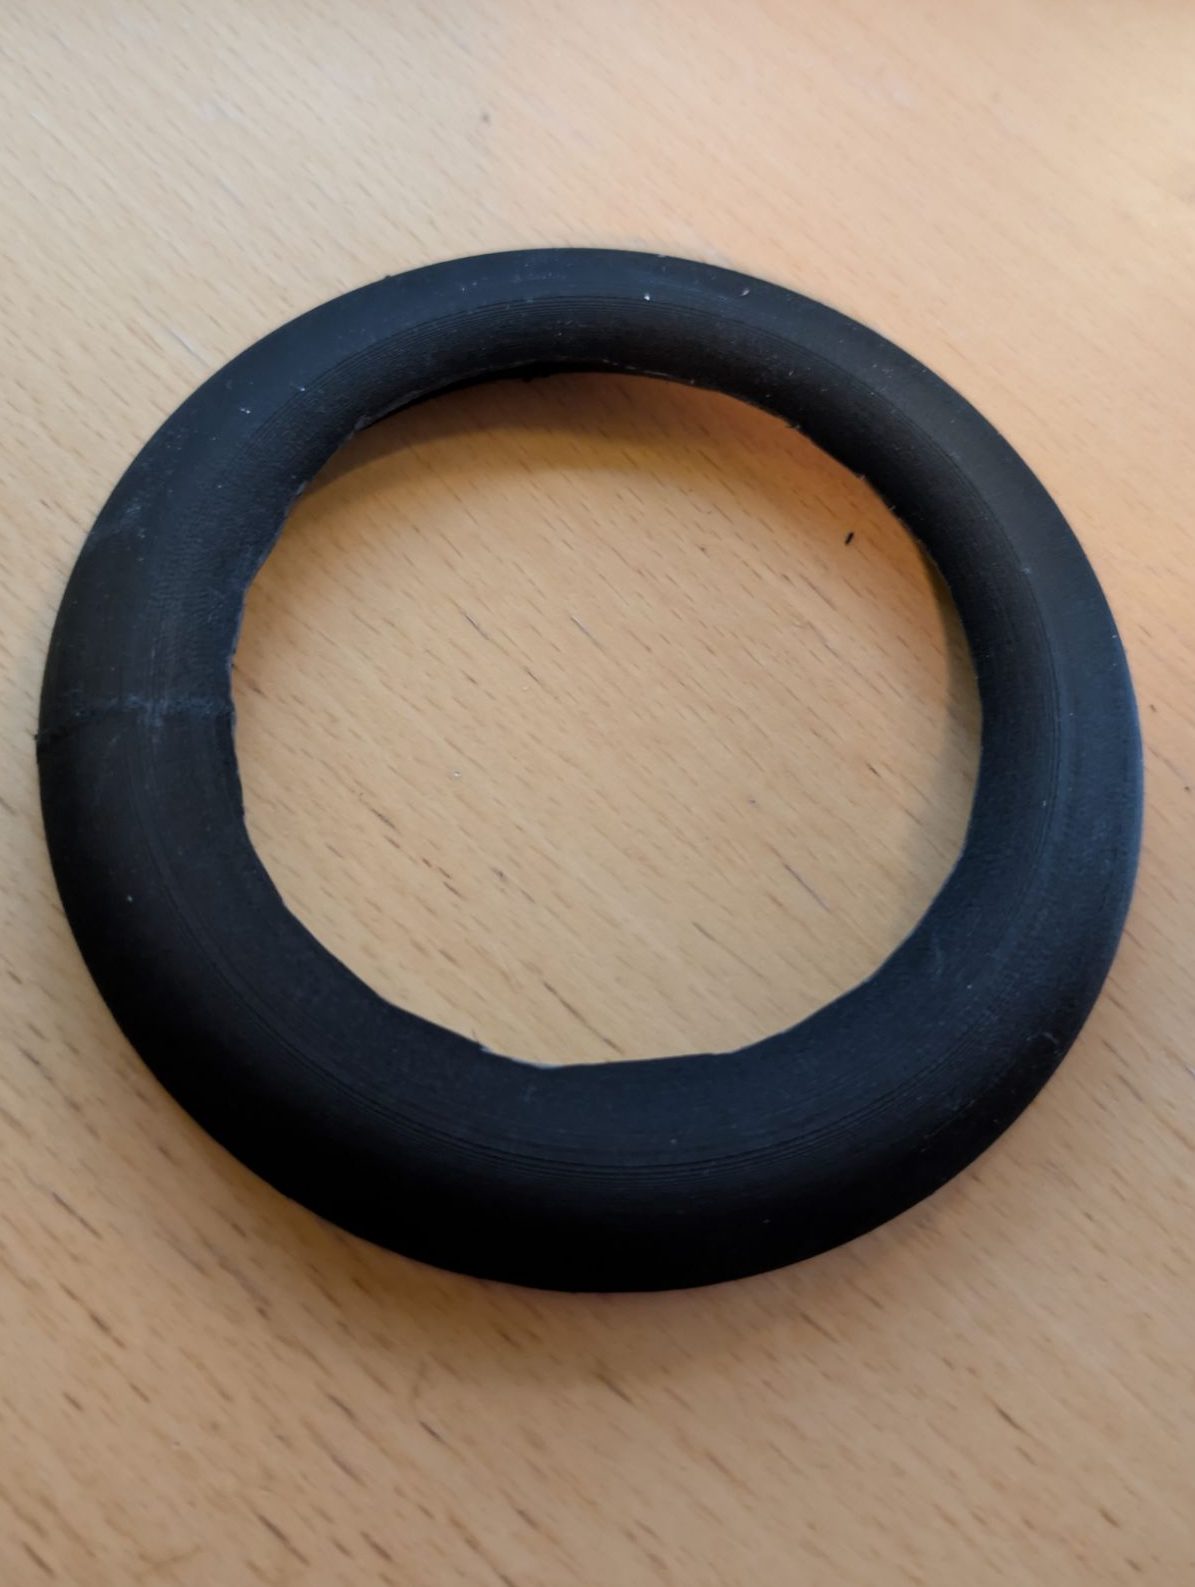
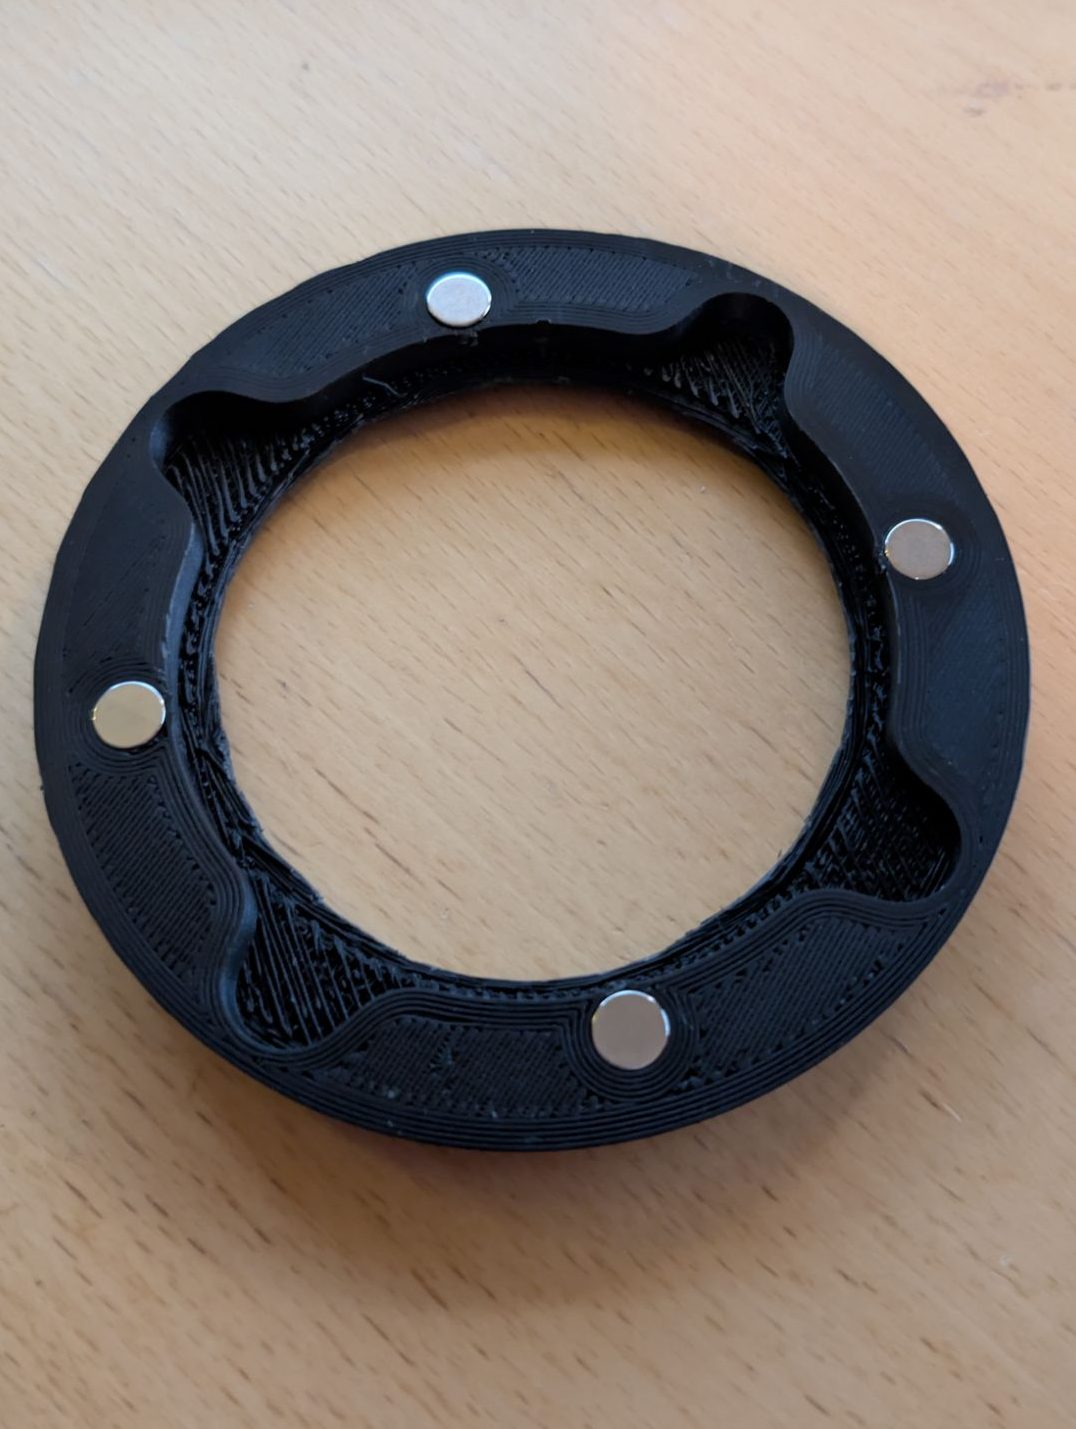
The front of the speaker is attached with magnets so it can be easily interchanged and experimented with. Due to some issues with the support, the centre hole didn’t end up so nice the first time around. But the magnes have plenty of power to stay firmly regardless of how the front develops.

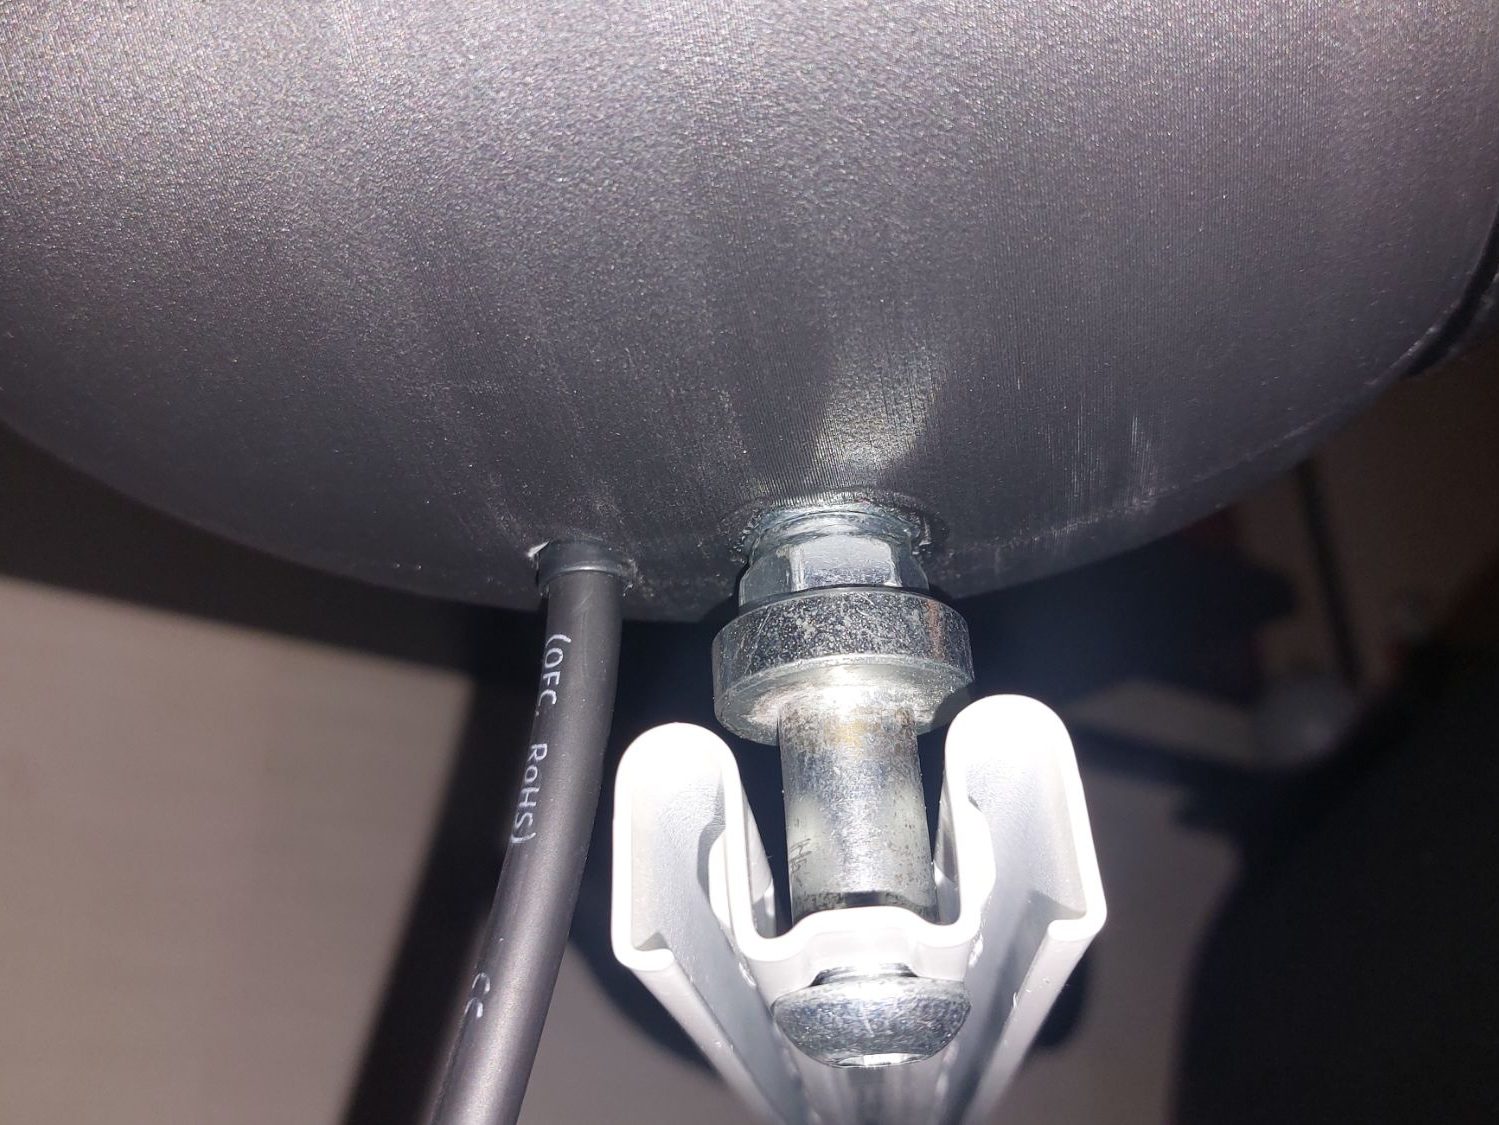
For the cable connection, i have a TPU 3d printed part with a slight conical shape, meaning that if you make a knot on the cable or a as ziptie or similar, the more you pull the cable, the more it will seal. This will aslo make it possible to have different cables and just remake the seal accordingly.
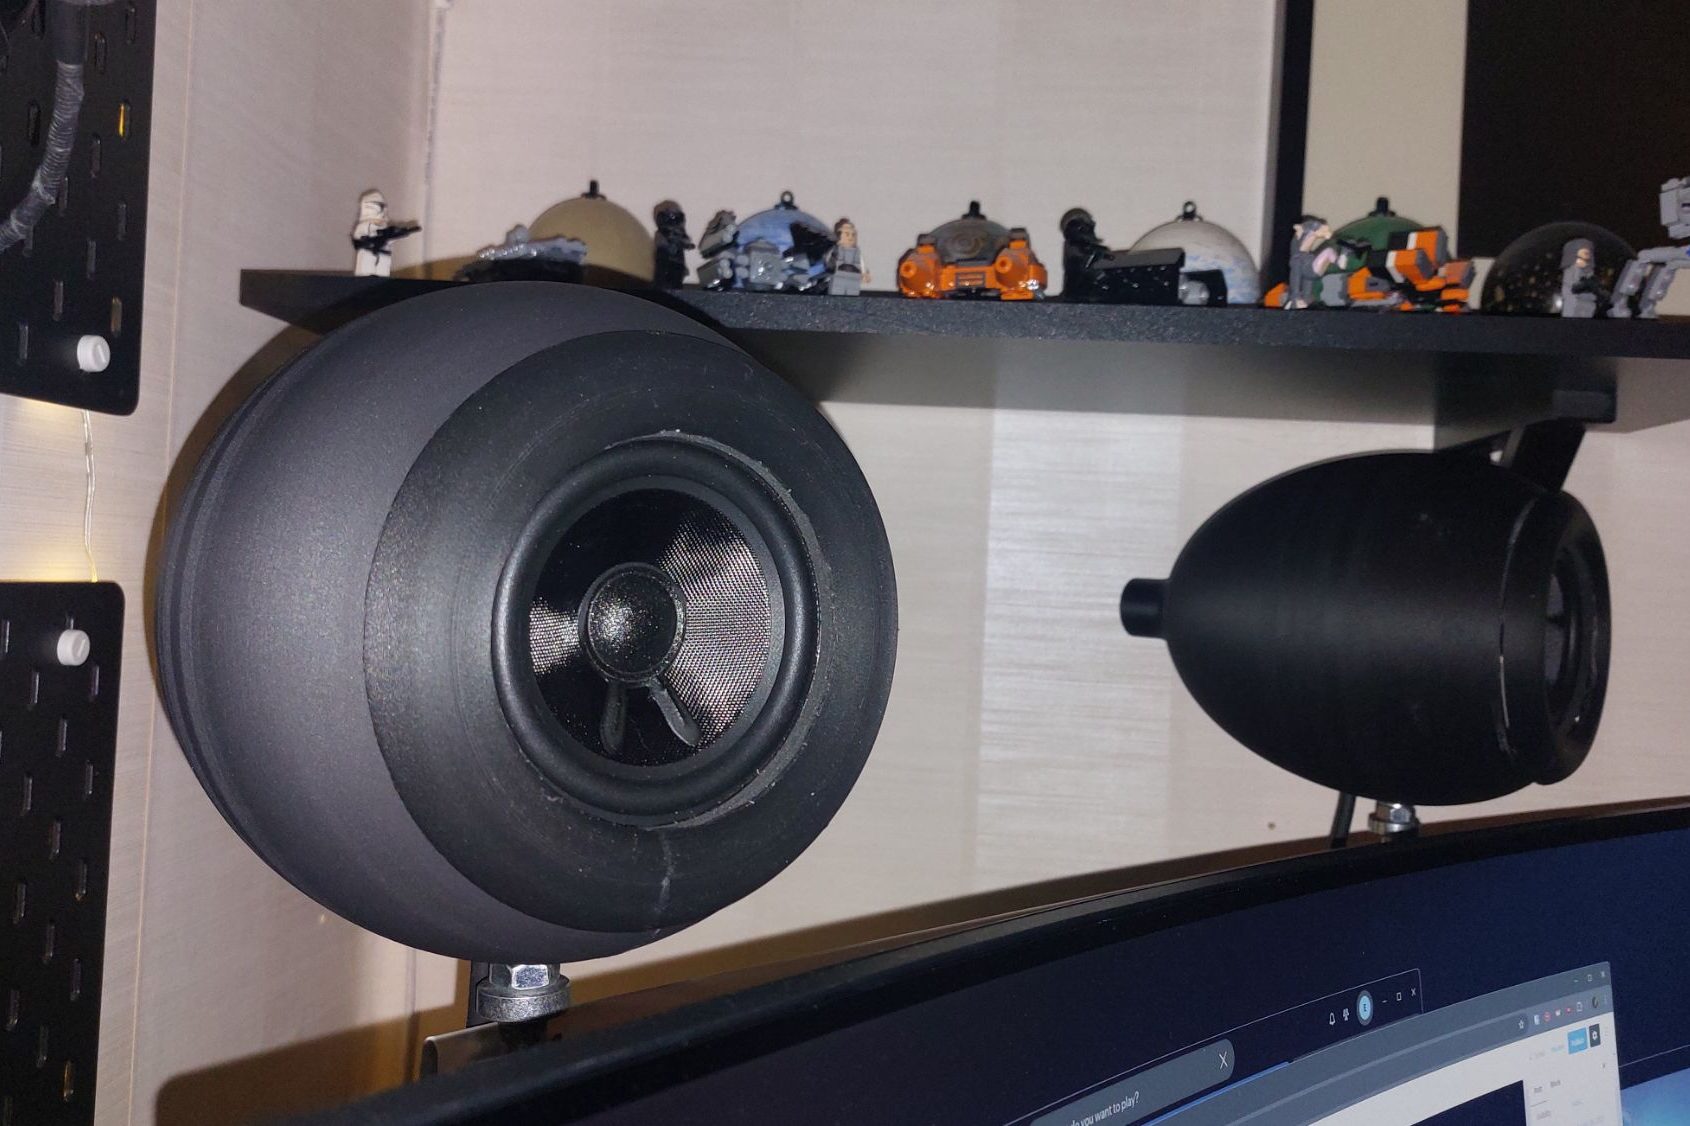
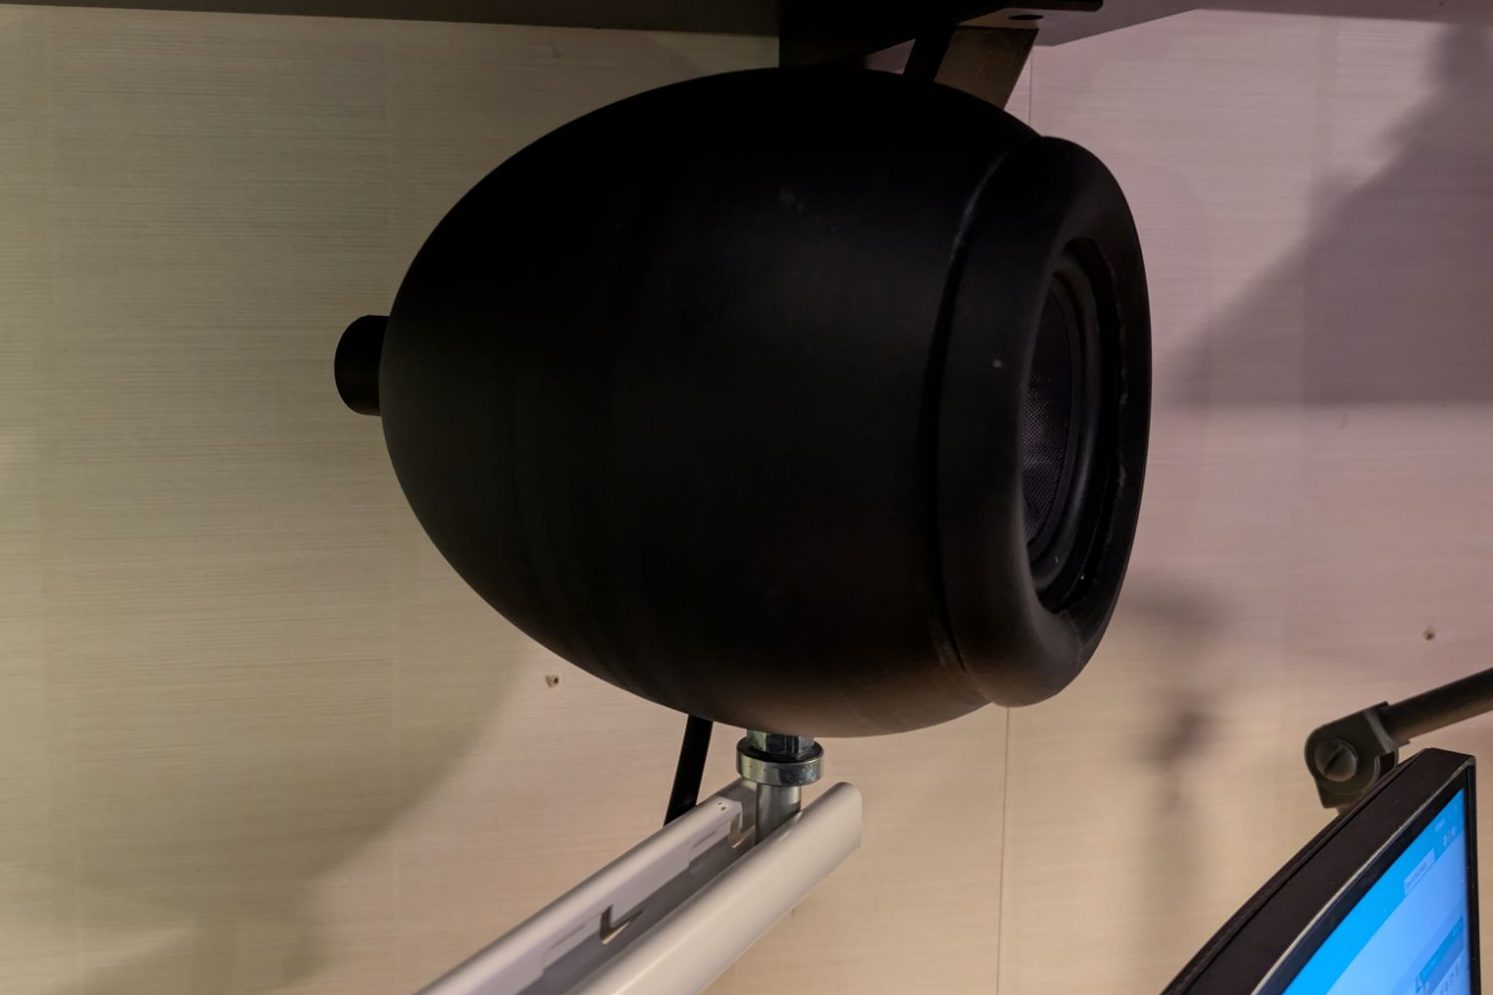
To save space in the desk the are mounted on a spare IKEA Algot bar on the screens camera / Microphone nut, at the top of the screen stand. It threads in to a M10 nut that is super-glued in to the egg. The M10 nut can be mounted on a normal microphone stand as well, even though its not optimal.


Measurements will be added as well as different fronts and maybe different tuning frequencies depending on.
Thread for easier discussion on diy audio: https://www.diyaudio.com/community/threads/3d-printed-speaker-egget-4.424526/
Below is all the Datasheets of the diver, the Hornresp record, as well as the STEP file. The STL and 3mf is huge since it is a spherical elliptical body.. Let me know if you want them and i will find a way to distribute!
If you make any modifications, please share your creations in the comments below!
License Agreement for all 3D models downloaded from Elleman.se
This 3D model is for personal, non-commercial use only. Commercial use (including selling or distribution) is strictly prohibited. Modifications are allowed for personal use but may not be sold. Please credit the creator when using or displaying the model. All rights are retained by the creator.
Leave a Reply